Page Margins: Figures, Images and Tables
1. Tables, figures and images may be embedded in the text of the manuscript or in an
appendix at the end of the document.
2. In order to avoid losing content when a dissertation or thesis is printed and bound,
please follow the University Formatting Guidelines for page margins as noted below:
a. Portrait pages:
i. Left and right margins: 1.25 inches
ii. Top and bottom margins: 1 inch
b. Landscape pages:
i. Left and right margins: 1 inch
ii. Top and bottom margins: 1.25 inches
3. Exceptions and Alternatives for including large tables, figures and images.
a. In order to accommodate large table, figures or images only (not the text of the
document) or to improve their legibility, the right, left, and top page margins for
tables, figures and images may be modified from 1.25 to 1 inch.
i. For Portrait pages: the right and left margin must be a minimum of 1 inch
ii. For Landscape pages: the top margin must be a minimum of 1 inch.
iii. Please be sure that the page numbers still display when making this
change.
b. Other options include:
Using landscape pages instead of portrait pages for tables and figures that are too
large for portrait pages
OR
Consider changing the page size from 8.5” x 11” to 8.5” to 14” (legal size) to improve
legibility of the content of the table, figure or image. Instructions for changing page
size in a document are available on the MS Word Help on the GW ETD Website.
NOTE: Legal size pages will be shrunk proportionately by ProQuest when printed and
bound for both the 8.5” x 11” and 6”x 9” copies of the bound product.
Available tools you can use for re-sizing your image can be found below:
Re-Sizing Figures, Tables and Images
If you figure or table was created using multiple text boxes – and not inserted as a single
image or picture –there are several ways to re-size the figure:
1. JING: a free software package used to capture and save a copy of the entire figure, etc. as
a .png file and inserted in the word document as a picture, and may be re- sized to fit
within the required page margins.
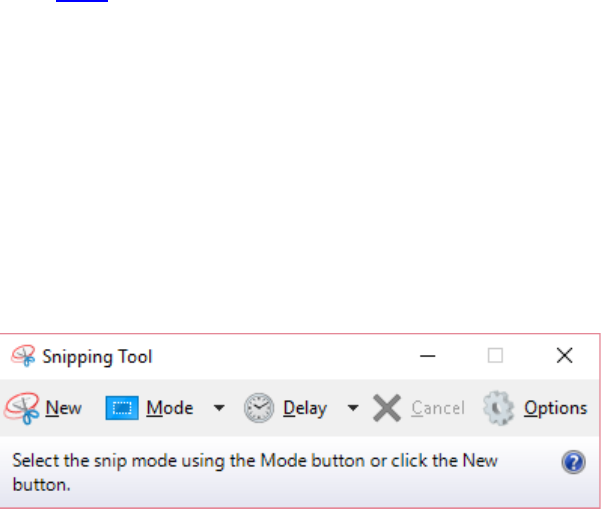
2. PCs - SNIPPING TOOL
a. To find this tool on your PC: Open Windows Explorer
b. In the search box, and type in snipping tool. Click on the app Snipping Tool.
c. Click on New or select the shape of the Snippit from the Mode drop-down menu
(Free Form Snip, Rectangular Snip, or Free Form Snip).
d. Select the portion of the screen (or document you wish to copy.)
e. Insert it into your word document and re-size the figure accordingly.
3. For MACs: Command+Shift+4, then select the text or image you wish to re-size.
4. Copy your image in Word and paste it into Adobe PhotoShop
a. PhotoShop will let re-size your image to specific size
b. Insert the re-sized image and paste it back into your word document.
